Breeding Mealworms for Ants
How to breed mealworms as clean feeder insects for ants: setup, substrate, moisture, life cycle, harvesting, storage and avoiding smell, mould and mites.
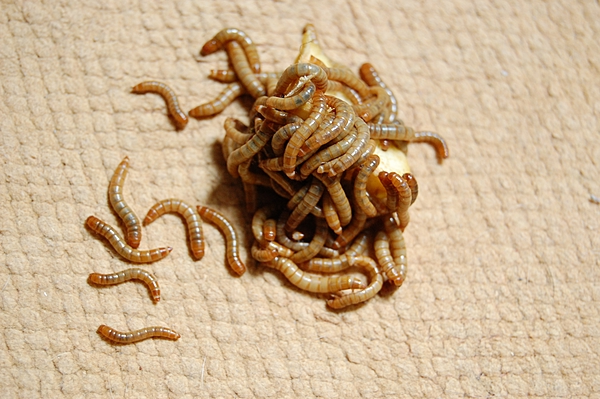
Mealworms are one of the easiest feeder insects for ant keepers. They are cheap, quiet, do not jump around your house like tiny protein popcorn, and many colonies accept them once cut into suitable pieces.
Quick answer
Keep mealworms in a ventilated tub with dry bran/oats as substrate, provide small pieces of carrot or potato for moisture, remove mouldy food and dead insects, separate pupae if needed, and harvest larvae as protein feeders for ants. Warmer room temperatures speed breeding; refrigeration slows larvae but stops breeding. For most beginner ant keepers, mealworms are the easiest staple feeder insect because they are cheap, quiet and simple to portion.
Mealworm life cycle
| Stage | What it is | Keeper note |
|---|---|---|
| Egg | Tiny eggs in substrate | Hard to see; do not constantly dig. |
| Larva | The mealworm | Main feeder stage for ants. |
| Pupa | White/resting stage | Vulnerable to cannibalism; can separate. |
| Beetle | Adult darkling beetle | Breeds and lays eggs. |
Basic setup
- plastic tub with smooth sides
- ventilated lid or breathable cover
- 5–8 cm of wheat bran, oats or similar dry substrate
- egg carton/cardboard for surface area
- small carrot/potato pieces for moisture
- warm, dry location away from ants
Temperature and growth
Mealworms breed faster in warm room conditions, commonly around the low-to-mid 20s °C in many guides. Cooler conditions slow development. Refrigeration can keep larvae longer for storage, but they will not breed properly while chilled.
Moisture without mould
Mealworms need moisture from vegetables, but wet food is where mould starts. Use small pieces, replace regularly and remove anything soft, fuzzy or gross. If the tub smells bad, something is wrong. A healthy mealworm tub should smell mostly like bran, not regret.
Separating stages
You can run a simple all-in-one tub, but production improves if you separate pupae from larvae/beetles to reduce cannibalism. Beetles can be moved to a breeding tub; eggs and tiny larvae remain in the substrate.
Feeding mealworms to ants
- cut larvae into small pieces for small colonies
- freeze or pre-kill if needed for safety/control
- offer tiny portions first
- remove leftovers within 24 hours
- avoid feeding mouldy or dead-smelling insects
Not sure how much to feed? Use the portion table in the Best Feeder Insects for Ants and Feeding Guide, then scale up only when the colony is clearing food cleanly.
Common problems
| Problem | Cause | Fix |
|---|---|---|
| Mould | Too much wet food or poor ventilation | Remove wet food; replace substrate if needed. |
| Mites | Humidity, old food, contamination | Dry setup, clean tub, quarantine culture. |
| Bad smell | Dead insects/rot | Sift, clean, reduce moisture. |
| No breeding | Too cold or no beetles | Warm slightly; allow larvae to pupate/beetles mature. |
| Pupae disappearing | Cannibalism | Separate pupae. |
Ant keeper hygiene tips
- keep feeder culture away from ant setups
- wash tools between cultures and colonies
- do not feed suspicious insects
- quarantine new mealworm tubs before relying on them
- label cultures by start date/source
Is breeding worth it?
For one tiny colony, buying a small tub of feeders may be easier. If you have multiple colonies or a growing colony with regular protein demand, breeding mealworms is cheap and convenient.
Related guides
Sources and further reading checked
- Breeding Insects — Mealworm requirements
- Breeding Insects — Mealworm care
- Ofera — how to raise mealworms
- Wormera — mealworm breeding instructions
Bottom line
Mealworms are an easy feeder culture if you keep them dry, ventilated and clean. Breed them warm, store them cool if needed, remove wet mess quickly, and feed ants small fresh pieces rather than a whole wriggly sausage roll.