
Formicarium Upgrade Guide
When to move ants from a test tube into a nest, how to choose the right size, and how to avoid the classic upgrade mistake: going too big too soon.
Buying a formicarium is exciting. Using it too early is one of the easiest ways to make ant keeping harder. A test tube might look plain, but for a young colony it is often close to perfect: small, humid, dark, secure and easy to defend.
The right time to upgrade is not when the nest looks cool. It is when the colony has enough workers to use the space, find food, manage waste and keep brood safe.
Quick answer: when should you upgrade?
Upgrade when the colony has a stable worker force, regular brood, feeding is becoming difficult in the test tube, and the tube is genuinely crowded or running out of water. For many beginner colonies, a tube plus small outworld should come before a full nest.
Signs your colony is ready
- workers regularly forage and return to brood
- the colony accepts sugar and protein reliably
- there is visible brood in multiple stages
- feeding in the tube is messy or risky
- the water reservoir is getting low
- workers crowd the cotton/entrance during feeding
- the colony has enough workers to explore without abandoning brood care
Signs it is too early
- queen only, no workers
- just a few nanitics
- workers rarely leave the tube
- the colony ignores most food
- you only want to move them because the new nest arrived
- the test tube still has water and space
“But the formicarium looks awesome” is emotionally valid and biologically irrelevant.
Best upgrade path for beginners
| Stage | Best setup | Why |
|---|---|---|
| Queen only | Covered test tube | Low stress, stable humidity. |
| First workers | Test tube only or tiny feeding area | Easy to monitor and feed carefully. |
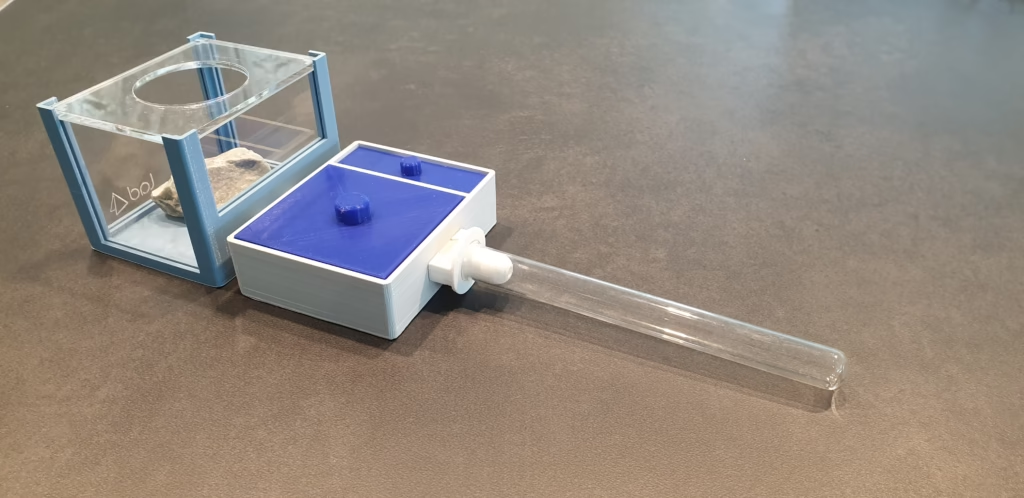
| Small colony | Test tube connected to small outworld | Cleaner feeding without forcing nest move. |
| Growing colony | Small formicarium plus outworld | More room while still manageable. |
| Established colony | Expandable nest system | Allows growth without huge early space. |
Choosing the right nest size
The nest should feel slightly snug, not massive. Ants are not impressed by empty rooms. In a nest that is too large, colonies may dump rubbish in unused chambers, struggle to manage humidity, spread out awkwardly, or become harder to feed and observe.
A good beginner rule: choose a nest where the colony can occupy and use a meaningful portion of the space immediately, with room to grow but not a football stadium of empty chambers.
Nest types for upgrades
| Nest type | Good for | Watch-outs |
|---|---|---|
| Acrylic | Visibility and easy cleaning | Can have condensation/humidity issues depending design. |
| 3D printed | Modular setups and hobby builds | Check material, gaps, hydration and cleaning. |
| Ytong/aerated concrete | Moisture-loving species and stable hydration | Can be bulky; hydration needs practice. |
| Naturalistic | Display setups and digging behaviour | Harder to monitor; pest/mould risk. |
| Hybrid | Balanced viewing and substrate options | More variables to manage. |
Before you connect the new nest
- test the lid and every port
- check tubing fits tightly
- hydrate the nest before ants enter
- make sure there is a dark nesting area
- apply barriers before workers explore
- remove unsafe gaps, sharp edges or loose parts
- have cotton, tape, spare tubing and a catch cup ready
How to move them in
The best method is usually connect-and-wait. Attach the test tube to the outworld or nest entrance, keep the new nest dark and comfortable, and let workers investigate. They may move quickly, slowly, or not at all for a while.
Do not dump them in. A forced move should be saved for emergencies, not impatience.
After the upgrade
- Keep disturbance low for a week.
- Feed small portions while they settle.
- Monitor humidity but avoid flooding.
- Check barriers daily at first.
- Remove old food quickly.
- Do not disconnect the old tube until queen, brood and workers have moved.
Common upgrade mistakes
- Too big: the classic one. Looks good for humans, bad for small colonies.
- Too dry: brood suffers and ants may refuse the nest.
- Too wet: mould and drowning risk.
- No barrier: workers explore the room. You become the outworld.
- Removing the old tube early: queen or brood may still be inside.
- Changing everything at once: new nest, new food, new heat, new location — chaos soup.
Related guides
- Ant Nests 101
- Moving a Queen Ant to a Formicarium
- Ant Barrier Guide
- Ant Keeping Gear Checklist
- Beginner Ant Keeping Mistakes
- Mould in an Ant Nest
Bottom line
Upgrade when the colony needs it, not when the keeper is bored. A good formicarium upgrade is small, secure, hydrated, escape-proof and boringly smooth. That is how you get healthy growth instead of a stressful ant moving day.