Moving a Queen Ant to a New Test Tube
How to move a queen or small colony safely when the founding tube dries, floods, moulds or becomes unsafe.
Moving a queen ant is stressful. Sometimes it is necessary; often it is just beginner impatience wearing a tiny lab coat. The safest move is usually not a move at all unless the current tube has a real problem.
Quick answer: safest transfer method
Prepare a clean fresh test tube, connect it securely to the old tube, keep the new tube dark, make the old tube less comfortable with gentle light only, and let the queen move herself if possible. Forced moves are a last resort.
When should you move her?
- water reservoir is nearly dry
- tube has flooded
- cotton has failed or collapsed
- mould is spreading near queen or brood
- tube is cracked, dirty or unsafe
- first workers make feeding/cleaning difficult
- colony has genuinely outgrown the tube
Reasons not to move
- you want better photos
- one tiny mould dot is far from the queen
- the queen has not laid yet and you are impatient
- you bought new gear and want to use it immediately
- the old tube looks boring
Ant keeping is full of boring-looking setups that are secretly working perfectly. Respect the boring.
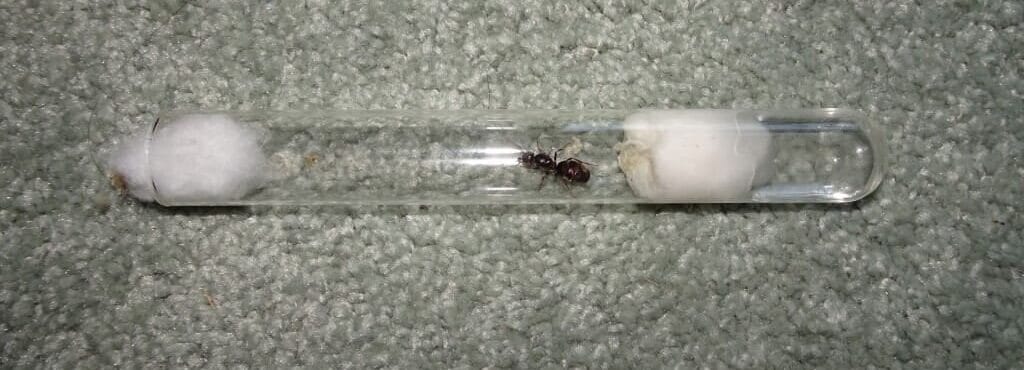
Method 1: tube-to-tube connection
- Prepare a clean new tube with water and firm cotton.
- Make sure the dry chamber is not too wet.
- Connect old and new tubes opening-to-opening using vinyl tubing, a connector, tape around the outside, or a small secure container.
- Cover the new tube so it is dark.
- Expose the old tube to gentle room light.
- Wait. This can take hours or days.
- Once queen, brood and workers are in the new tube, disconnect carefully.
Do not use heat to force them unless you really know what you are doing. “Gentle encouragement” becomes “ant sauna disaster” very quickly.
Method 2: old tube into small outworld
If the colony has workers, you can place the old tube and fresh tube inside a small escape-proof outworld. Darken the new tube, leave the old tube exposed to normal room light, and let workers discover the better option.
- Use a secure lid and barrier.
- Keep both tubes from rolling.
- Do not make the outworld huge.
- Feed tiny amounts away from the old dirty area.
- Remove the old tube only after brood and queen are moved.
What about brood?
Brood is the reason patience matters. Workers often move eggs, larvae and pupae slowly. Do not assume the move is finished just because the queen walked across. Wait until the brood is moved too, unless the old tube is dangerous.
Forced transfer: last resort only
A forced transfer means tipping or tapping the queen and brood into a new setup. It can injure the queen, scatter brood and cause panic. Only consider it if the old tube is actively unsafe: flooding, collapse, severe mould, contamination or serious escape risk.
If forced transfer is unavoidable, work low over a soft, contained area. Have the new tube ready, keep movements slow, and avoid dropping brood onto dry, dusty or dirty surfaces.
After the move
- Keep the new tube dark for several days.
- Do not feed immediately unless workers need it.
- Check briefly for brood and queen condition.
- Remove old food and rubbish from the outworld.
- Do not move them again unless necessary.
Troubleshooting
| Problem | Likely cause | Fix |
|---|---|---|
| Queen refuses to move | Old tube still feels safer | Make new tube darker and wait. |
| Workers move but queen stays | Queen reluctant or brood still in old tube | Wait unless old tube is dangerous. |
| Brood scattered | Transfer was too rough | Keep calm, darken new tube, let workers collect brood. |
| Condensation in new tube | Temperature swing or too much moisture | Stabilise location; avoid direct heat. |
| Escapes during transfer | Setup not contained | Work inside a tub next time; seal gaps first. |
What if she has not laid eggs yet?
Do not move a queen just because she has not laid eggs. First check whether the current tube is actually unsafe, then use the Queen Ant Not Laying Eggs guide to rule out disturbance, season, temperature and mating-status issues.
Moving because the old tube is too wet is different from moving because it is dry. If you are unsure whether condensation is harmless or the tube is actually unsafe, read the ant nest too wet guide first.
Related guides
- What to Do with a Queen Ant After Capture
- Test Tube Setup for Queen Ants
- Mould in an Ant Nest
- Ant Barrier Guide
- Formicarium Upgrade Guide
Bottom line
The best test tube move is voluntary, slow and boring. Prepare a better tube, make it dark, connect it securely, and let the ants do the delicate work themselves. Your job is to make the safe option obvious, not to panic-shuffle a queen like a deck of cards.