| Scientific Name | Tenebrio molitor |
| Common Name | Mealworm |
| Size | Larvae: 1–3 cm | Beetles: 1.5–2 cm |
| Lifespan | Larvae ~8–12 weeks | Beetles ~1–3 months |
| Reproduction | Beetles can lay up to ~500 eggs over their lifespan |
| Best Temperature for Breeding | 24–28 °C |
| Feeding Frequency | Provide fresh food every 2–3 days |
1. Introduction to Breeding Mealworms
Breeding mealworms at home is one of the easiest ways to supply reliable protein for your ant colonies. They’re inexpensive, simple to manage, and perfect for gut-loading to boost nutrition for developing larvae.
- Save money: reduce pet-store costs
- Always available: steady supply for your ants
- Nutritional control: gut-load for extra vitamins
- Minimal space: a single tub can sustain a colony
2. Breeding Mealworms – Getting Started
Step 1: Source starter mealworms
- Pet stores (reptile/bird sections)
- Bait shops
- Online suppliers or local insect farms
How many? For a steady pipeline, begin with 500–1000 mealworms. This quickly seeds a cycle of larvae → pupae → beetles.
Step 2: Choose the right container
- Best: smooth-sided plastic tubs (HDPE/PP), storage drawers, or glass aquariums
- Avoid: foam or thin, soft plastics (can be chewed); fabric lids
- Depth: at least 10 cm to reduce escapes
- Ventilation: cut a hole in the lid and secure with fine metal mesh (≈1 mm) to prevent escapes and flies
⚠️ Note: Adult beetles can climb textured surfaces; keep walls smooth and lid secure.
Step 3: Bedding & substrate
- Wheat bran (top choice): nutritious and easy to sift
- Oat bran: good moisture control
- Plain, unsweetened crushed cereal (backup)
Fill to a depth of 3–5 cm to allow burrowing.
Step 4: Food & water (no water dish!)
- Carrots (best for low mould)
- Potato (watch for mould)
- Apple slices (attract fruit flies; use sparingly)
- Leafy greens (lettuce, kale, spinach)
Replace fresh foods every 2–3 days to prevent mould and mites.
📖 External resource: step-by-step husbandry overview from the University of Kentucky Entomology.
3. Breeding Mealworms – Life Cycle & Timing
Understanding the life cycle helps you harvest at the perfect stage for your ants.
Stage 1: Egg (4–19 days)
Microscopic and laid in the substrate; incubation speeds up with warmth.
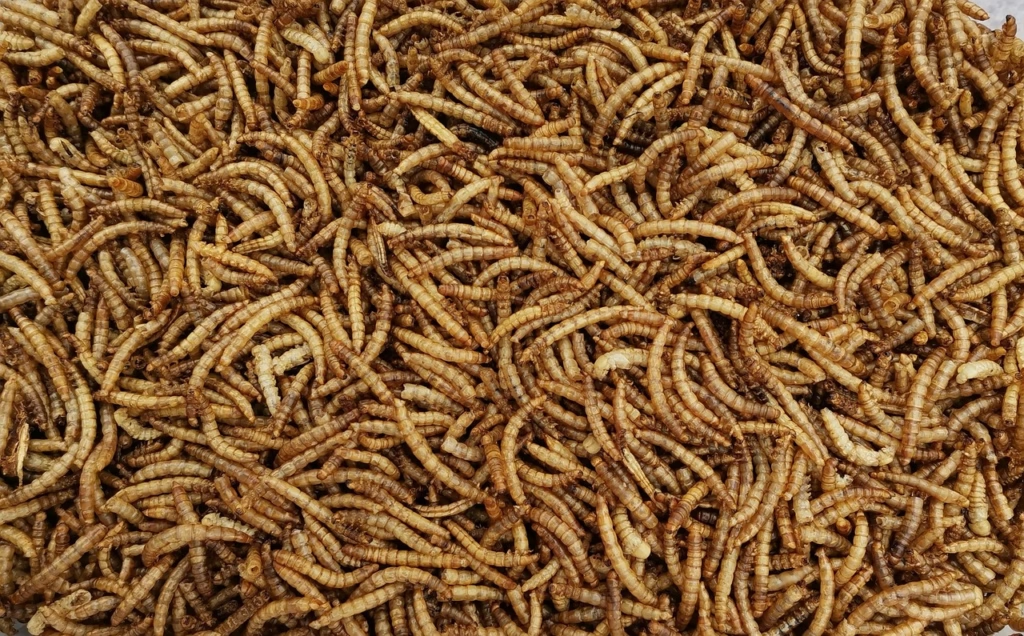
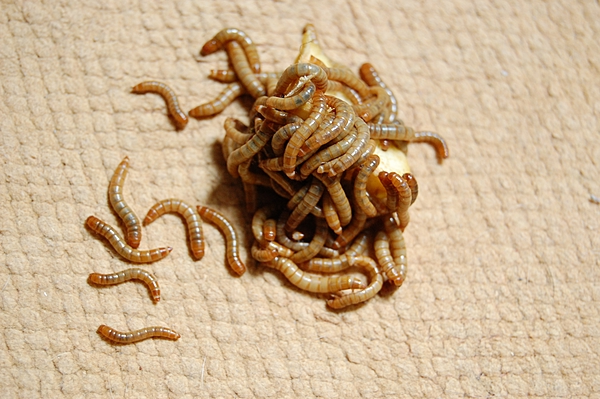
Stage 2: Larva (mealworm) (8–12 weeks)
This is the stage most ant keepers feed. Larvae moult 9–20 times before pupating—gut-load in the final days for extra nutrition.
Stage 3: Pupa (1–3 weeks)
Immobilised and pale; move pupae to a separate container to reduce cannibalism.
Stage 4: Beetle (1–3 months)
New beetles emerge pale, then darken within 48 hours. They begin laying eggs in ~1–2 weeks.
4. Keeping Your Mealworm Farm Thriving
Feeding & cleaning schedule
- Feed fresh veg every 2–3 days
- Remove mouldy/dry food promptly
- Sift out frass (waste) every ~2 weeks with a mesh sieve
- Separate pupae into a nursery tray to reduce cannibalism
Production expectations
- Each female beetle can lay hundreds of eggs over her life
- A colony with ~1000 beetles can yield thousands of larvae per month under optimal conditions (temperature, feed, low disturbance)
Pro tips
- Freeze dry goods (bran/oats) for 48 hours before use to reduce mites
- Keep substrate dry to minimise odour
- Use a dust mask when sifting frass if you’re dust-sensitive
- Do not release beetles or larvae outdoors; dispose of excess by freezing and binning
5. Feeding Mealworms to Your Ants
Best ways to prepare mealworms
- Pre-killed (recommended): crush the head or snip; prevents burrowing and makes feeding safer
- Live feeding: suitable for large, aggressive species (e.g., bull ants, jumping jacks); use a feeding dish so larvae can’t burrow
- Cut into pieces: great for small species; easy to carry and share
Gut-loading for extra nutrition
- 24 hours on carrots/greens or quality fish flakes boosts vitamins
- Optionally, freeze-kill prepared pieces for clean, long storage
🔗 Related reading: The Ultimate Ant Feeding Guide
6. Troubleshooting Your Mealworm Farm
- Mould: too much moisture—reduce veg, increase airflow, replace substrate
- Mites: quarantine, swap to fresh frozen-then-thawed bran, keep drier
- Slow growth: raise temp toward 26–28 °C; add protein (e.g., fish flakes)
- Escapes: deepen container, smooth walls, finer mesh
- Odour: keep dry, sift frass, remove spoiled food
7. Final Thoughts – Should You Breed Mealworms for Ants?
Breeding mealworms is cost-effective, simple, and scalable, making it one of the best feeder solutions for ant keepers. With a tidy setup, good hygiene, and regular gut-loading, you’ll have a constant source of clean, nutritious food for colonies of all sizes.
Would you set up a mealworm farm for your ants? Tell us in the comments!